Have you ever wondered how to bring your creative visions to life in the vibrant world of Roblox? Diving into Roblox Studio is your gateway to becoming a game developer, where imagination truly has no limits. This comprehensive guide will walk you through the entire process, from downloading the software to publishing your very first game. We will explore what Roblox Studio is, why millions are choosing it to express their creativity, and how you can harness its powerful tools to design captivating experiences. Whether you are a curious beginner or looking to refine your skills, understanding how to do Roblox Studio is the crucial first step. We cover everything from setting up your workspace and understanding the interface to basic building techniques and the essentials of scripting with Lua. Prepare to unlock a world of possibilities and learn how to do Roblox Studio to craft immersive, shareable games that captivate players worldwide. This guide aims to make your journey into game development both accessible and incredibly rewarding, transforming you from a player into a creator.
So, you are eager to jump into game creation and asking, How do you start making games in Roblox Studio? Well, you are in the right place, my friend! This guide is all about empowering you to become a creator on one of the worlds most popular platforms. When we talk about game development, who exactly can get involved? Absolutely anyone with a curious mind and a computer can begin this journey, regardless of their prior experience. What is Roblox Studio? It is the free, powerful software that lets you design, build, and publish games and experiences for the Roblox platform. Why is it so popular? Because it makes game creation accessible, enabling millions to share their unique ideas with a global audience. Where can you get it? Directly from the Roblox website, a simple download away. And how do you begin? By installing the software and taking your very first steps into its intuitive environment. This article will show you the ropes, turning that how to do Roblox Studio question into a confident I can do Roblox Studio statement. We are going to explore every aspect, from the initial setup to crafting your very own digital worlds, making sure you feel equipped and excited for what’s ahead.
Getting Started with Roblox Studio: Your First Step into Creation
When you decide to embark on this thrilling adventure of game development, what is the very first thing you need to do to begin with how to do Roblox Studio? The answer is straightforward: you need to download and install Roblox Studio itself. Where do you find this essential tool? Simply navigate to the official Roblox website and look for the Create button. Clicking this will guide you to the download page. Who is this software for? It’s designed for anyone, from young enthusiasts taking their first coding steps to experienced developers looking for a vast audience. Why is this initial setup so critical? Because it’s the foundation upon which all your creative projects will stand. How does the installation process work? It’s typically a quick, guided process that involves downloading an executable file and running it, much like installing any other software on your computer. When should you do this? Right now, if you are ready to transform your ideas into interactive experiences! Preparing your computer means ensuring you have a stable internet connection and sufficient storage space. This crucial first step, understanding how to do Roblox Studio by getting it onto your machine, is remarkably simple, designed to get you into the creative flow as quickly as possible. Dont worry, the system requirements are generally quite forgiving, so most modern computers can handle it just fine.
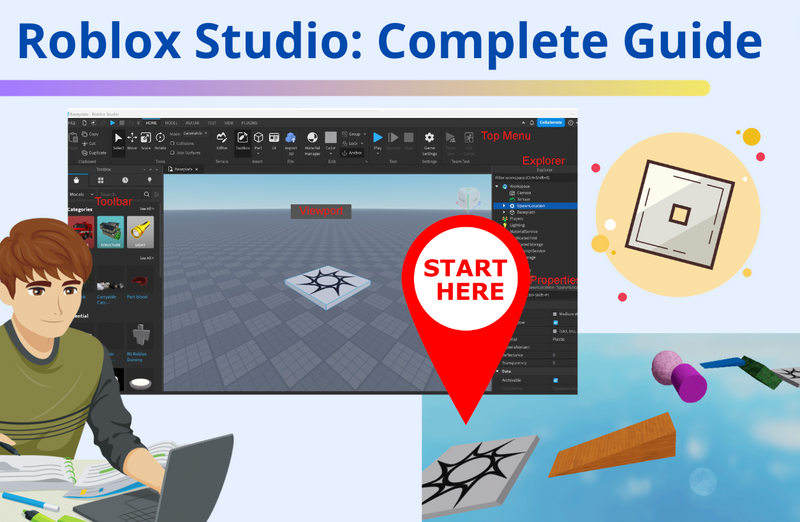
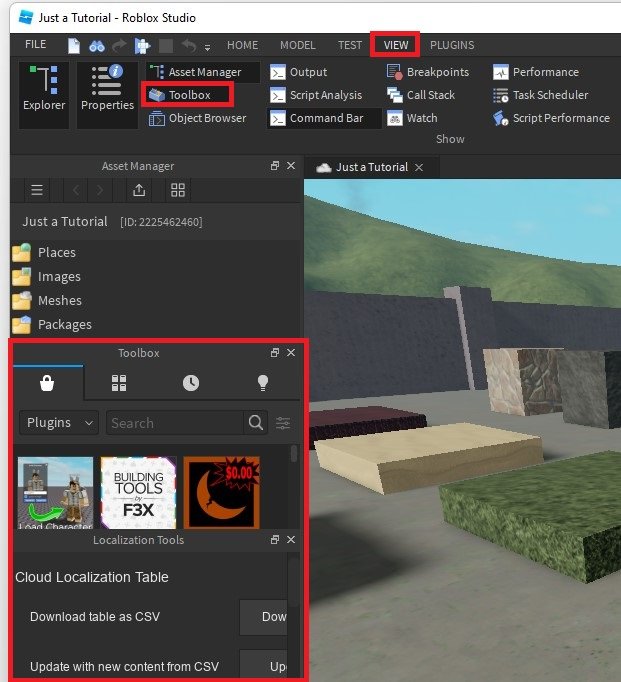
Understanding the Roblox Studio Interface: Your Creative Command Center
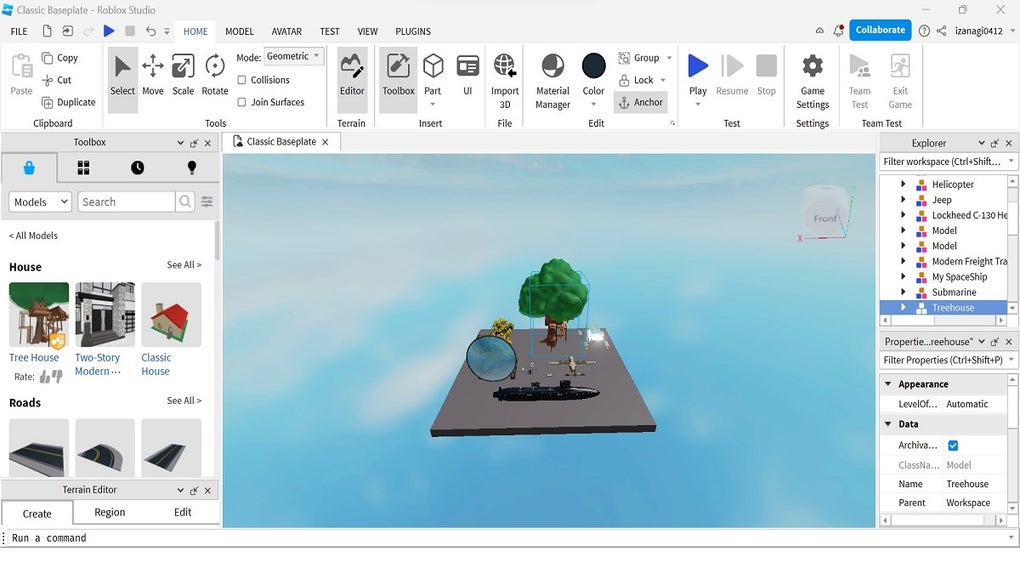
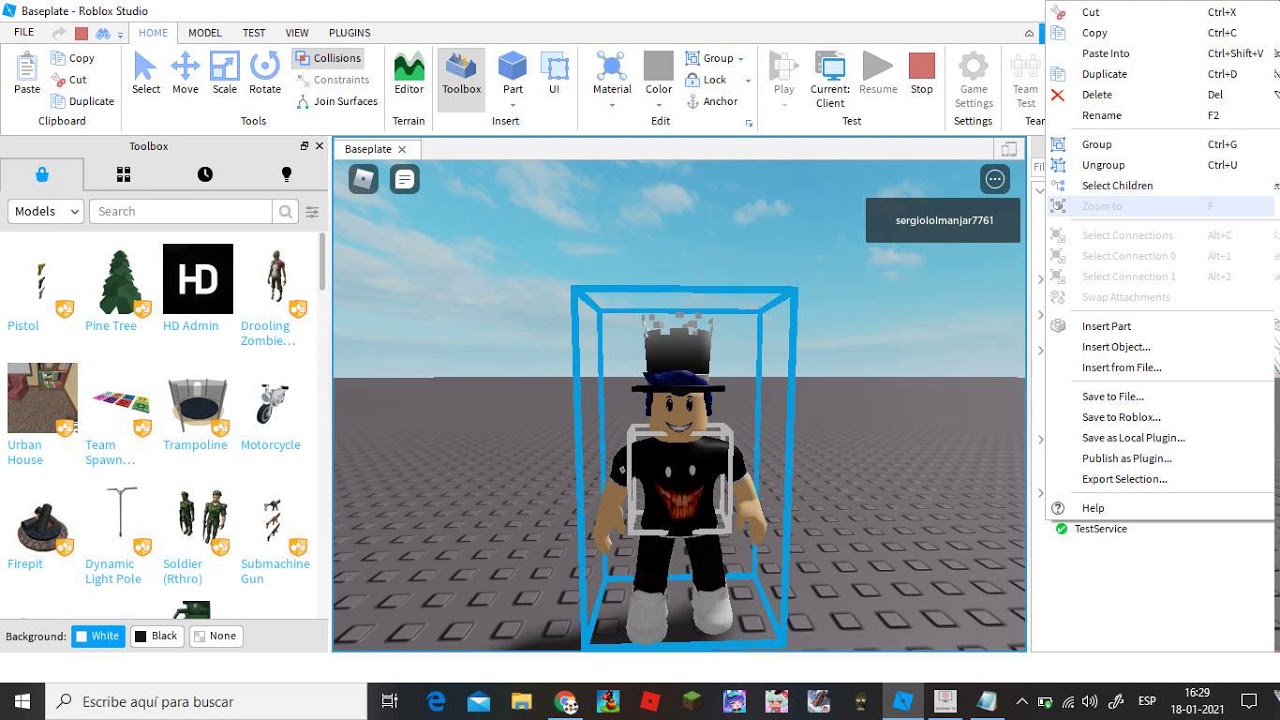
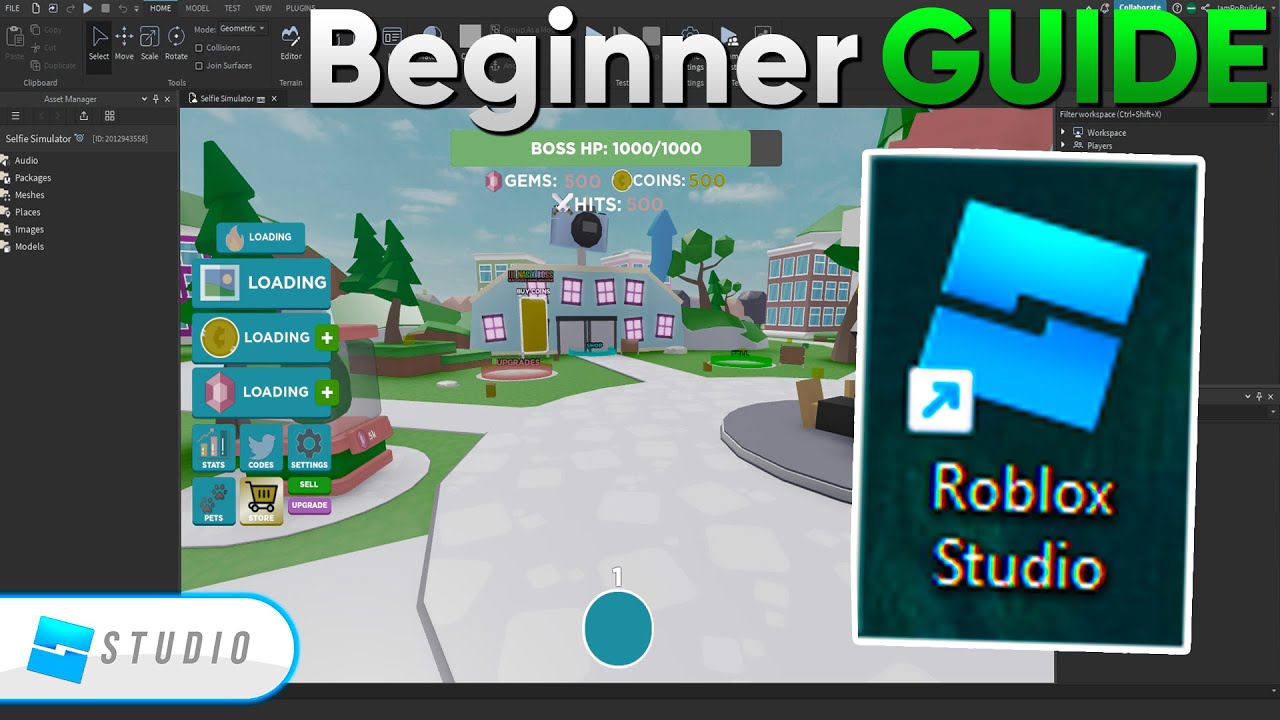
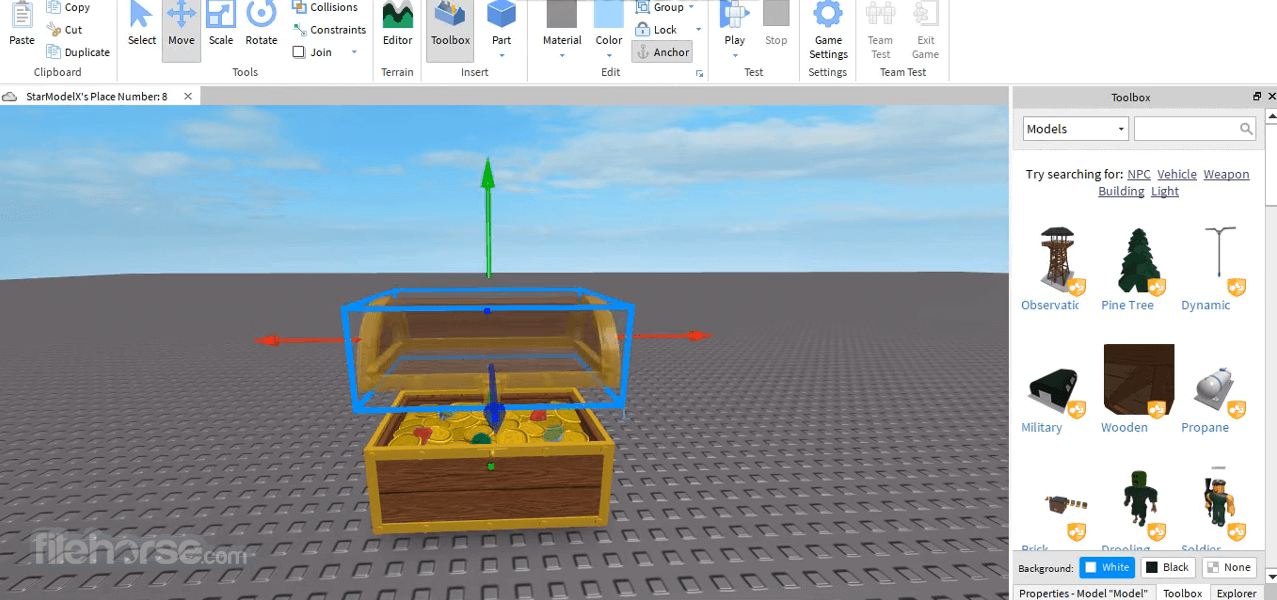
Once you have Roblox Studio open, what exactly are you looking at, and how does each part help you in your quest for how to do Roblox Studio? The interface might seem a little overwhelming at first glance, but lets break it down. Who benefits from understanding the layout? Everyone! Knowing where things are saves you time and frustration. The primary components youll interact with include the Explorer window, Properties window, Toolbox, and the main 3D viewport. Why is familiarity with these areas so important? Because they are your command center for building, manipulating, and customizing every element of your game. The Explorer window, usually on the right, shows you a hierarchical list of all objects in your game, like parts, scripts, and models. The Properties window, typically below the Explorer, allows you to change attributes of selected objects, such as color, size, and position. The Toolbox, often found on the left, provides a vast library of free models, images, and sounds created by other users or Roblox itself. How do you use these? You select an object in the Explorer, modify its properties, and drag items from the Toolbox into your game. When should you spend time learning this? From the moment you open the program, gradually exploring each panel. Where do these tools come together? In the central 3D viewport, where you visualize and interact with your game world. Mastering this interface is fundamental to understanding how to do Roblox Studio effectively and efficiently.
Building Your First Objects: Simple Steps in Roblox Studio
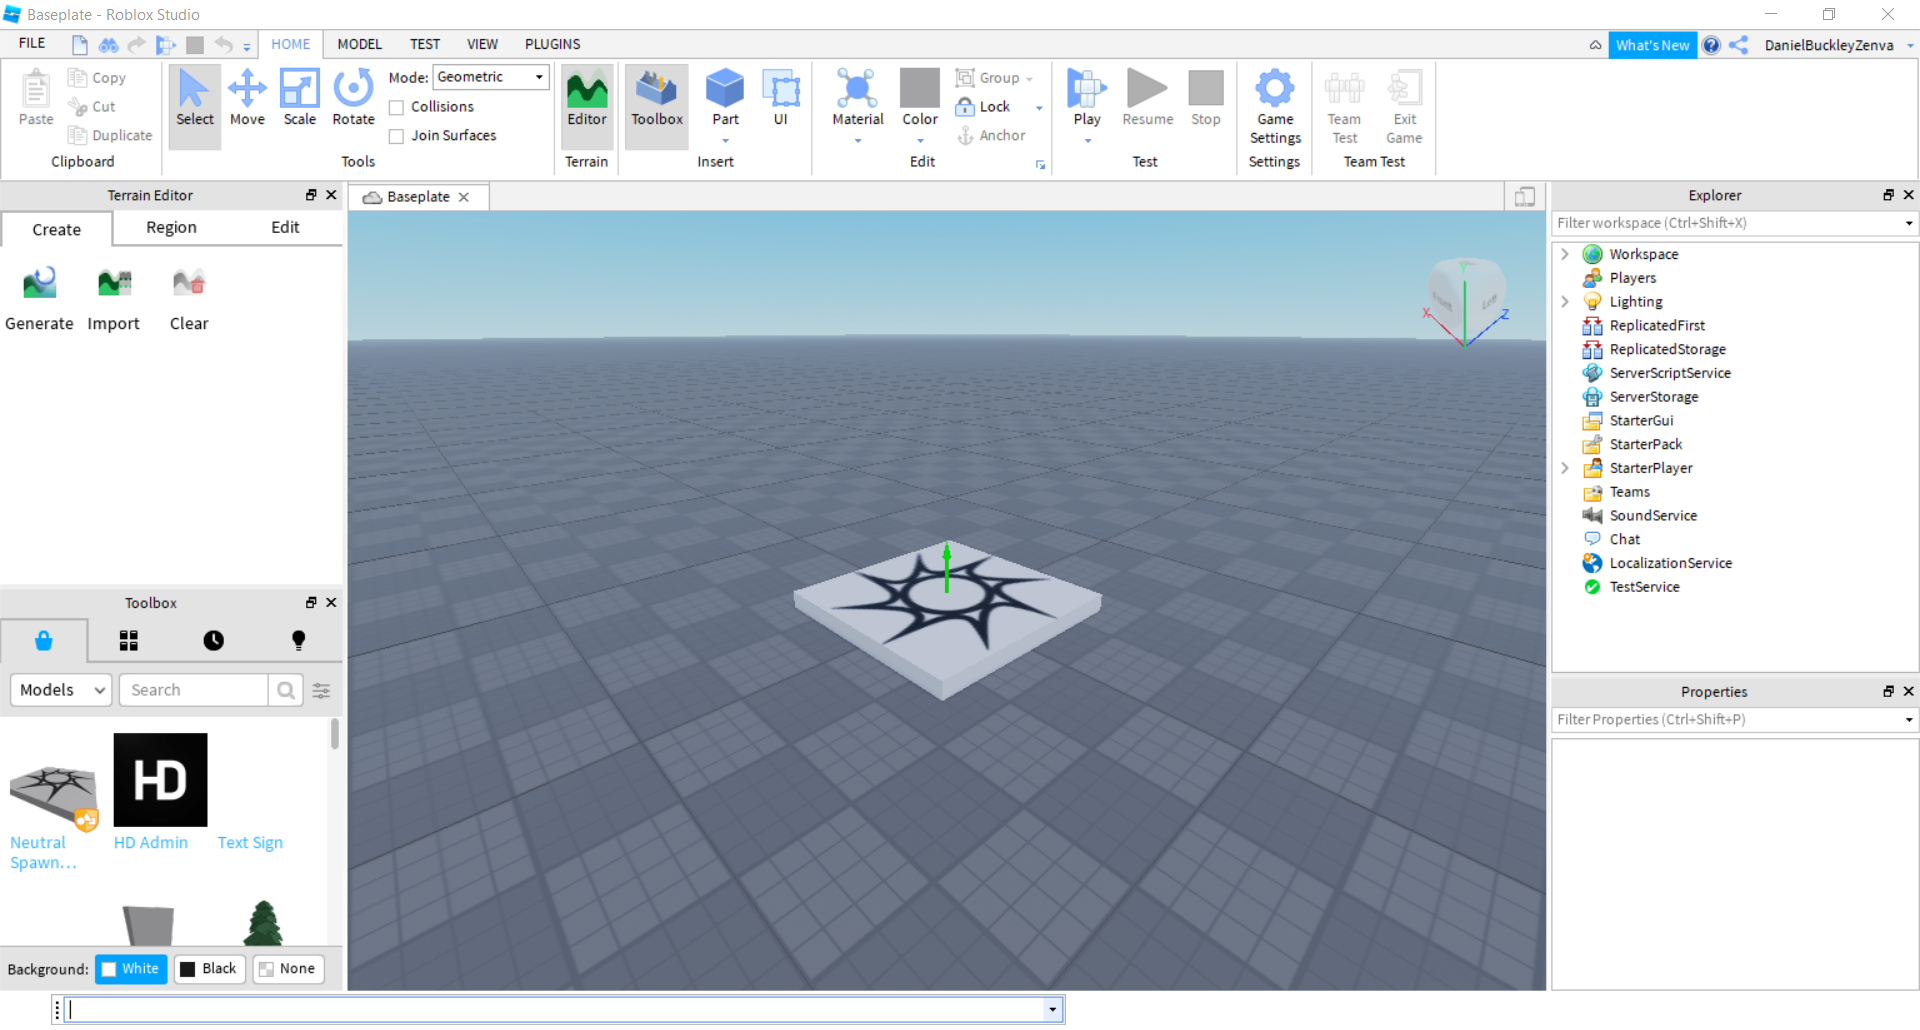
Now that you are familiar with the interface, what is the first practical step in answering how to do Roblox Studio when it comes to actual game creation? Its all about building! You start by inserting a Part into your workspace. Why a Part? Because parts are the fundamental building blocks of almost everything in Roblox Studio, from walls and floors to complex machinery. Who can build these? Again, absolutely anyone! The process is designed to be intuitive. How do you add a part? Look for the Part button in the Home tab of the ribbon bar at the top of the Studio window. Click it, and a basic block will appear in your 3D viewport. What can you do with this part? You can use the Move, Scale, and Rotate tools (also found in the Home tab) to change its position, size, and orientation. When should you use each tool? Move is for relocating the part, Scale for making it bigger or smaller in any dimension, and Rotate for spinning it around. Where do these changes happen? Right there in your 3D world, giving you instant visual feedback. Experiment with different shapes – block, sphere, wedge, and cylinder – to see how they behave. You can also change a parts color and material using the Properties window. This hands-on experience, creating and modifying basic objects, is a crucial part of learning how to do Roblox Studio, helping you visualize and construct the components of your future game world.
Introducing Scripting with Lua: Bringing Your Game to Life
After building static objects, you might ask, How do you make things actually happen in Roblox Studio? This is where scripting comes into play, utilizing the Lua programming language. What is Lua, and why do we use it in Roblox Studio? Lua is a lightweight, powerful, and relatively easy-to-learn scripting language that Roblox uses to make games interactive. Who writes these scripts? You do! Even a few lines of code can dramatically change how your game behaves. Where do you write scripts? You can insert a Script object into a Part or into the ServerScriptService in the Explorer window. How do you create one? Right-click on an object in the Explorer, hover over Insert Object, and select Script. When you open a new script, you will see a blank canvas for your code. What can scripts do? They can make parts change color, allow players to jump higher, create custom tools, or even manage entire game systems. For example, a simple script might make a part disappear when a player touches it. Why learn scripting? Because its the heart of dynamic gameplay, turning a collection of static models into a living, breathing experience. Understanding the basics of Lua scripting is an essential part of truly mastering how to do Roblox Studio and elevating your game from a scene to an interactive adventure, offering endless possibilities for creativity and engagement.
Testing and Publishing Your Masterpiece: Sharing Your Roblox Studio Game
Once you have built and scripted parts of your game, the next crucial step is often, How do you test and share your creations made with Roblox Studio? Testing is vital because it allows you to experience your game from a players perspective, identify bugs, and refine gameplay. Why test? To ensure everything works as intended and to catch any issues before others see them. Who should test your game? You, your friends, and eventually, the wider Roblox community. How do you test? In Roblox Studio, go to the Test tab in the ribbon bar and click Play. This will spawn your character into your game world, allowing you to move around, interact with objects, and test your scripts. When should you test? Frequently! Test after every significant change or addition. After thorough testing and polishing, you will be ready to publish. What does publishing involve? It means making your game available for others to play on the Roblox platform. How do you publish? In the File menu, select Publish to Roblox. You will be prompted to give your game a name, description, and configure various settings, such as whether its public or private. Where will your game appear? On your Roblox profile and discoverable by other players if you make it public. Sharing your work is the culmination of learning how to do Roblox Studio, allowing your creative vision to reach a global audience and bring joy to many players, making all your hard work truly worthwhile.
| Roblox Studio Key Feature | What It Does | Why Its Important |
|---|---|---|
| 3D Viewport | Main area for visual building and interaction. | Your primary canvas for game design. |
| Explorer Window | Lists all objects in your game heirarchy. | Organizes your games components. |
| Properties Window | Allows modification of object attributes (color, size, position). | Customizes the appearance and behavior of items. |
| Toolbox | Provides a library of assets (models, images, sounds). | Speeds up development with pre-made resources. |
| Script Editor | Where you write and edit Lua code. | Brings interactivity and dynamic gameplay to life. |
| Test Tools | Simulates gameplay to find bugs and refine experience. | Ensures your game is fun and functional for players. |
Summary Question and Answer:
Q: What is the fastest way to start making a game in Roblox Studio?
A: The fastest way to begin is by downloading and installing Roblox Studio, then using the Part tool to add basic objects and experimenting with the Move, Scale, and Rotate tools to manipulate them in the 3D viewport. Gradually, you can introduce simple scripts to add interactivity.
Keywords: how to do Roblox Studio, make a game on Roblox, Roblox game development, learn Roblox Studio, Roblox Studio tutorial, create Roblox games, Roblox Lua scripting, Roblox Studio for beginners, build games Roblox, publish Roblox game, Roblox Studio basics, game creation on Roblox.
Downloading Roblox Studio, Navigating the interface, Basic building techniques, Introduction to scripting in Lua, Testing and publishing games, Community and learning resources for Roblox Studio.
35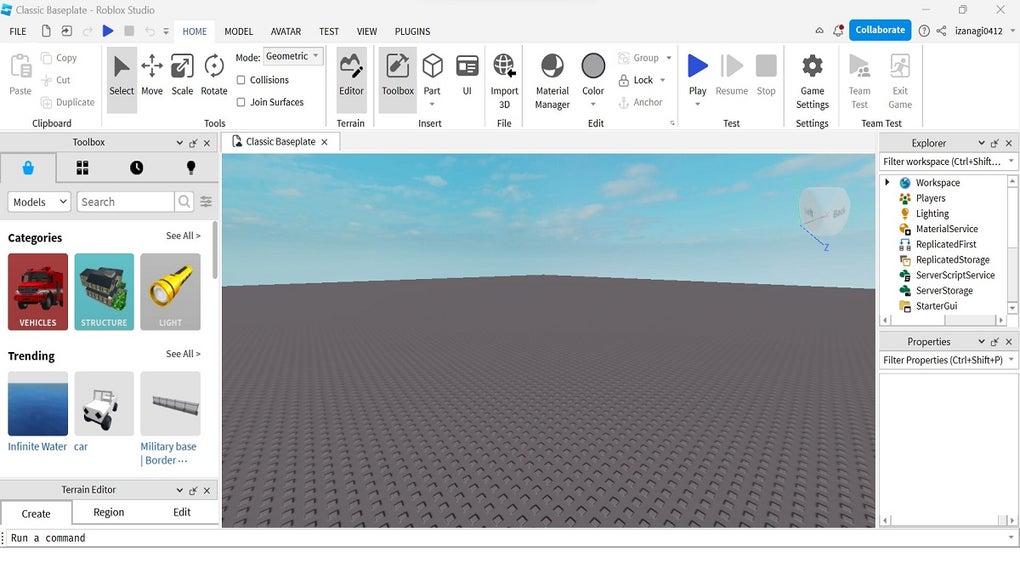


Roblox Studio Descargar Roblox Studio How To Play Roblox Studio For Windows . Roblox Studio T L Charger Roblox Studio Walkthrough Roblox Studio For Windows . Best Roblox Studio Tutorials Complete List Img . PLAYTEST With PLAY PLAY HERE AND RUN Roblox Studio YouTube . Roblox Studio Detailed Beginner S Guide For Roblox Game Creator Screen Shot 2024 10 01 At 2.46.12 PM


Roblox Studio Detailed Beginner S Guide For Roblox Game Creator Screen Shot 2024 11 29 At 7.08.14 AM . Guides Esports Driven How To Use Roblox. How To Use Roblox Studio 6 Steps With Pictures WikiHow Use Roblox Studio Step 6 . Roblox Studio . Roblox Studio


How Do I Revert To The Old ROBLOX Studio UI Platform Usage Support 7386735 2 . What Is Roblox Roblox Creator Hub Studio . Creaci De Jocs A Roblox Studio Escola De Programaci Rob Tica I Roblox Studio How To Create Roblox Games Roblox Studio Logo . What Will Roblox Look Like In 2026 Blog Graphics 26 . Next Gen Studio UI Preview Is Here Beta Developer


Roblox Studio Opens 2 Separate Windows Studio Bugs Developer Forum . How To Get The New Roblox Studio UI YouTube . Roblox Studio Connect Como Hacer Skins En Roblox Studio . Complete Beginner Guide To Roblox Studio YouTube . Roblox Studio Download 2025 Latest Roblox Studio Screenshot 04


How To Use Roblox Studio With Pictures WikiHow Aid2429397 V4 728px Use Roblox Studio Step 25 . Roblox Studio Download Setup And Build Games Screen Shot 2022 12 20 At 2.03.28 PM . Roblox Studio Windows Becoming Seprate Tabs Game Design Support . How To Use Roblox Studio With Pictures WikiHow Aid2429397 V4 728px Use Roblox Studio Step 11 . How To Use Roblox Studio A Step By Step Guide V4 460px Use Roblox Studio Step 30


Jak Doda Swoj Posta W Roblox Studio Mundo Geek Img 1745379119 DCPY . How Do I Get Roblox Studio Your Ultimate Guide To Starting Creation How Do I Get Roblox Studio . How To Roblox Studio Basics Beginner Friendly Tutorial YouTube . Team Create Roblox Use Roblox Studio Step 50 . 100 Unofficial Roblox Annual 2026 Brand New For 2025 The Iconic SL1500


How To Download And Install Roblox Studio 2024 Roblox Robloxdev . 2026 Logo In Roblox YouTube Maxres2 . Completely Reinstall Roblox Studio Platform Usage Support . ATUALIZADO 2025 Como Voltar Para A Vers O Antiga Do Roblox Studio . How To Master Roblox Studio A 2023 Tutorial Blog Getting Started With Roblox Studio 6 1024x265